How To Remove a Scratch On Your Vehicle
You have a scratch on your new car, and it bothers you to no end every time you look at it. Guess what? you can probably fix this yourself. All cars produced since probably the early nineties now have a clear coat. The car’s paint consists of a gray primer, the color, and then a clear coat on top to keep the color from fading from the sun or being scratched. If your scratch is not all the way down to the color coat or primer, you can repair it yourself rather easily without having to use touch-up paint.
Wax
There is an escalating series of products to fix the problem. The first thing to try is a good car wax. Do a firm waxing of the scratch with a good paste wax, available at your local auto parts store or Wal-Mart. Step back and see if this has fixed the scratch to your satisfaction. If not, go to the next step.
Swirl Mark Remover
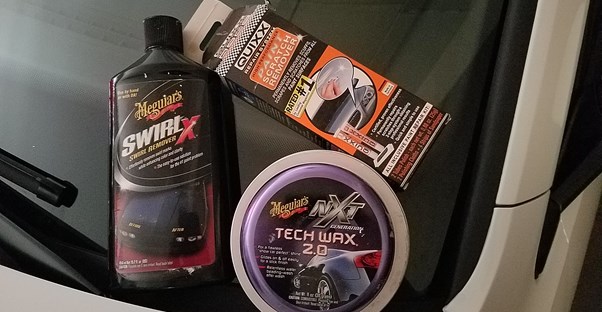
The next thing to try is a swirl mark remover, which is available at any auto parts store. This has some grit in it. Give it a good back and forth rub perpendicular to the scratch and finish up with some good circular motions. Put some muscle into this. Wipe this off and check your scratch. If it looks good, use your paste wax to shine and protect the spot. If the scratch is still easily visible, let’s go to the next step.
Rubbing Compound
We now want to move to a rubbing compound. This is even more gritty than the swirl mark remover and should get out most moderate scratches in the clear coat. Once again, dab this on and use some muscle to rub the scratch well. This may dull the paint slightly, but follow it up with the wax to get the shine back. Now, look at your scratch. If it’s still not fixed to your satisfaction, we need to go to a high-level scratch removal product.
Wet Sanding Product
We are at the upper limit now. At this point, we’ll need a wet sanding kit – something that has sandpaper in it. We have tried and like using Quixx. This may scare you as you are going to wet sand the scratch, but it is very doable. Work a test spot under your hood or trunk for practice. Follow the product instructions, making sure to keep the spot wet as you sand it. It is best to use a spritz bottle to do this. For wet sanding, it’s best to use lighter, gentler motions. You don’t need to apply heavy muscle like you do with the swirl remover or the rubbing compound.
After completing the sanding, there is some polish in the kit to put the shine back into the area. Sanding will visibly dull the finish until you polish it back. Follow this up with another sanding if needed, but make sure you do not burn through the clear coat layer. Use your wax again to put a protective layer on repaired spot. This should fix your scratch if it is deep, but only in your clear coat layer. Keep all your products as you are sure to get another scratch at some point – though hopefully not right away.